Within this post you will see step-by-step directions on how to submit your artwork into our exhibitions through Submittable. Please Note: This submission How-To was created on a Mac computer, so the location of files and overall look of the screen may be different on other devices. If you are unsure where to access your files on your computer, personal research may be necessary.
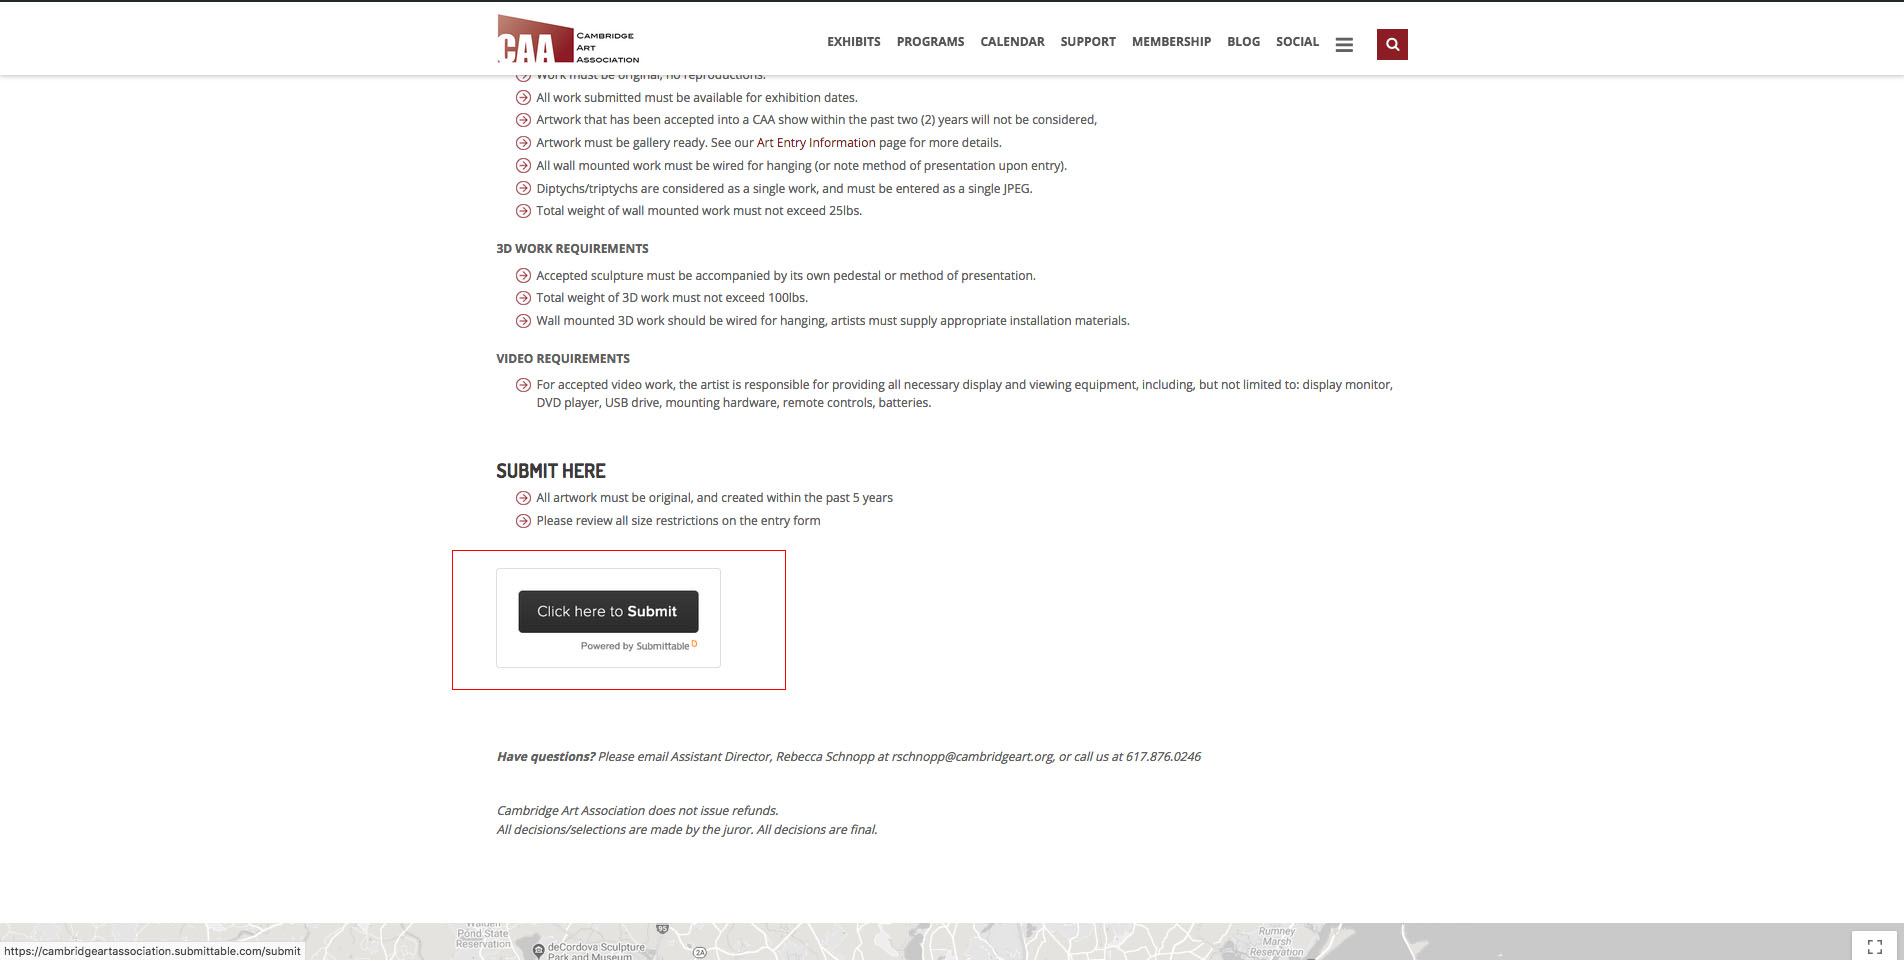
STEP 1
When you are on the exhibition webpage, and have read through exhibition details, click the button that says ‘Click here to Submit‘
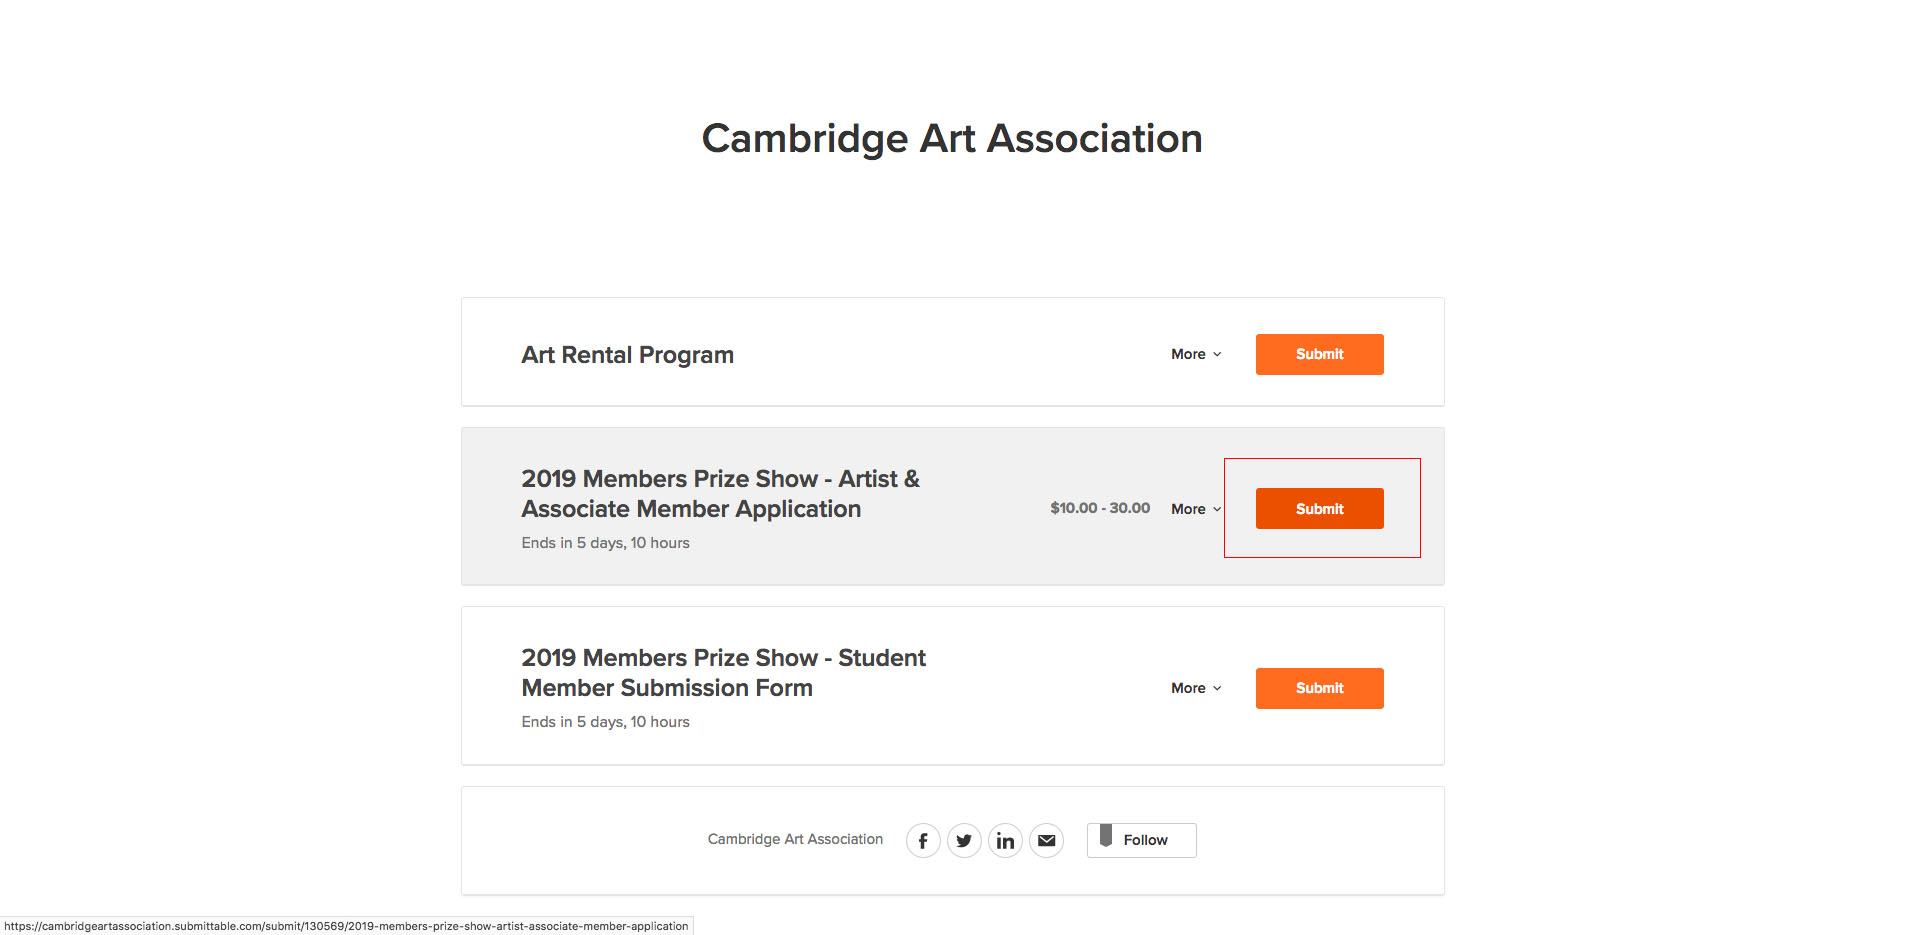
Step 2
You will be redirected to the Submittable landing page for the Cambridge Art Association. Click the ‘Submit’ button next to the application that you are applying to. In this case, I am using our 2019 Members Prize Show application as the example. Please read the application names to make sure you are submitting to the correct exhibition. This landing page will include more applications than just the one you are interested in.
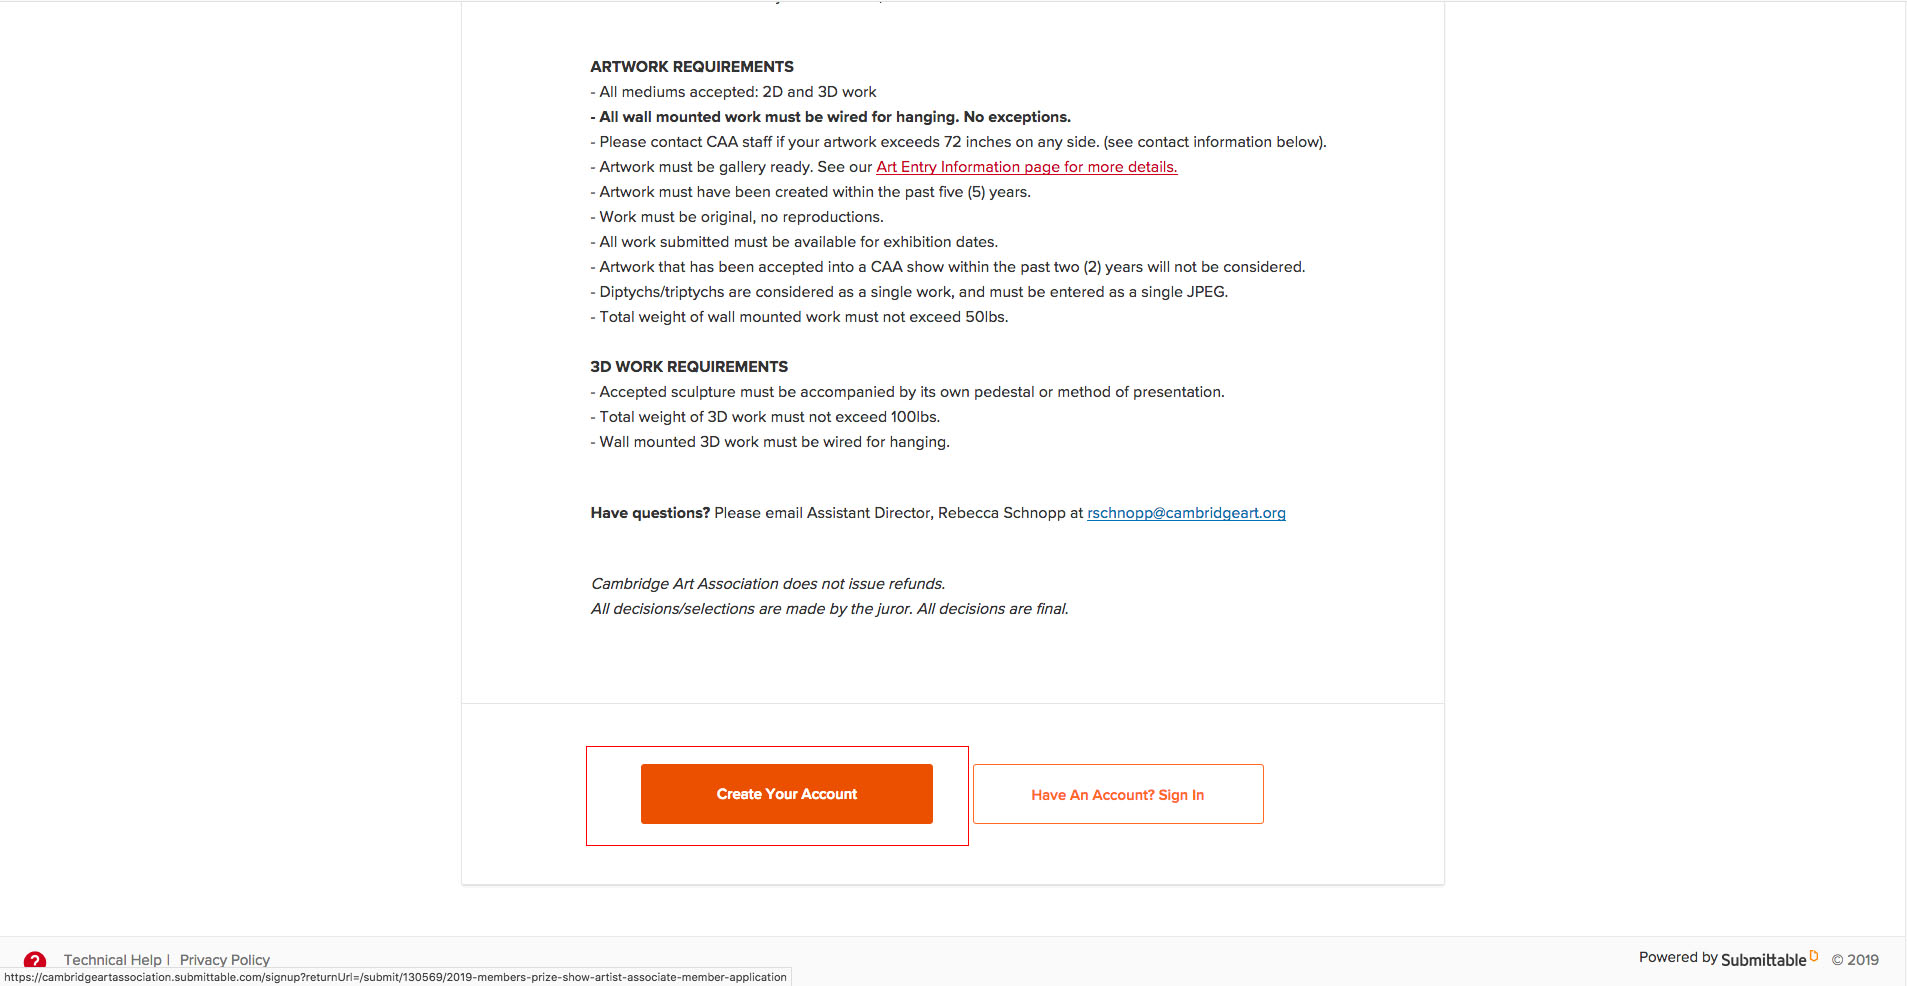
STEP 3
You will be redirected to the main page for the application you selected in the previous step. Read over our Exhibition Guidelines, and scroll down. You will see two buttons. ‘Create Your Account’ and ‘Have An Account? Sign In’. This account is not related to your pre-existing Cambridge Art Association account. This is to create an account with Submittable. No worries, it’s free, but you must create an account with them in order to continue your application. It’s Easy! Simply click ‘Create Your Account’ and move on to Step 4.
STEP 4
Fill out your email, password you’d like to use for your account, and name. Then click ‘Sign-Up’ and you will be redirected to your application.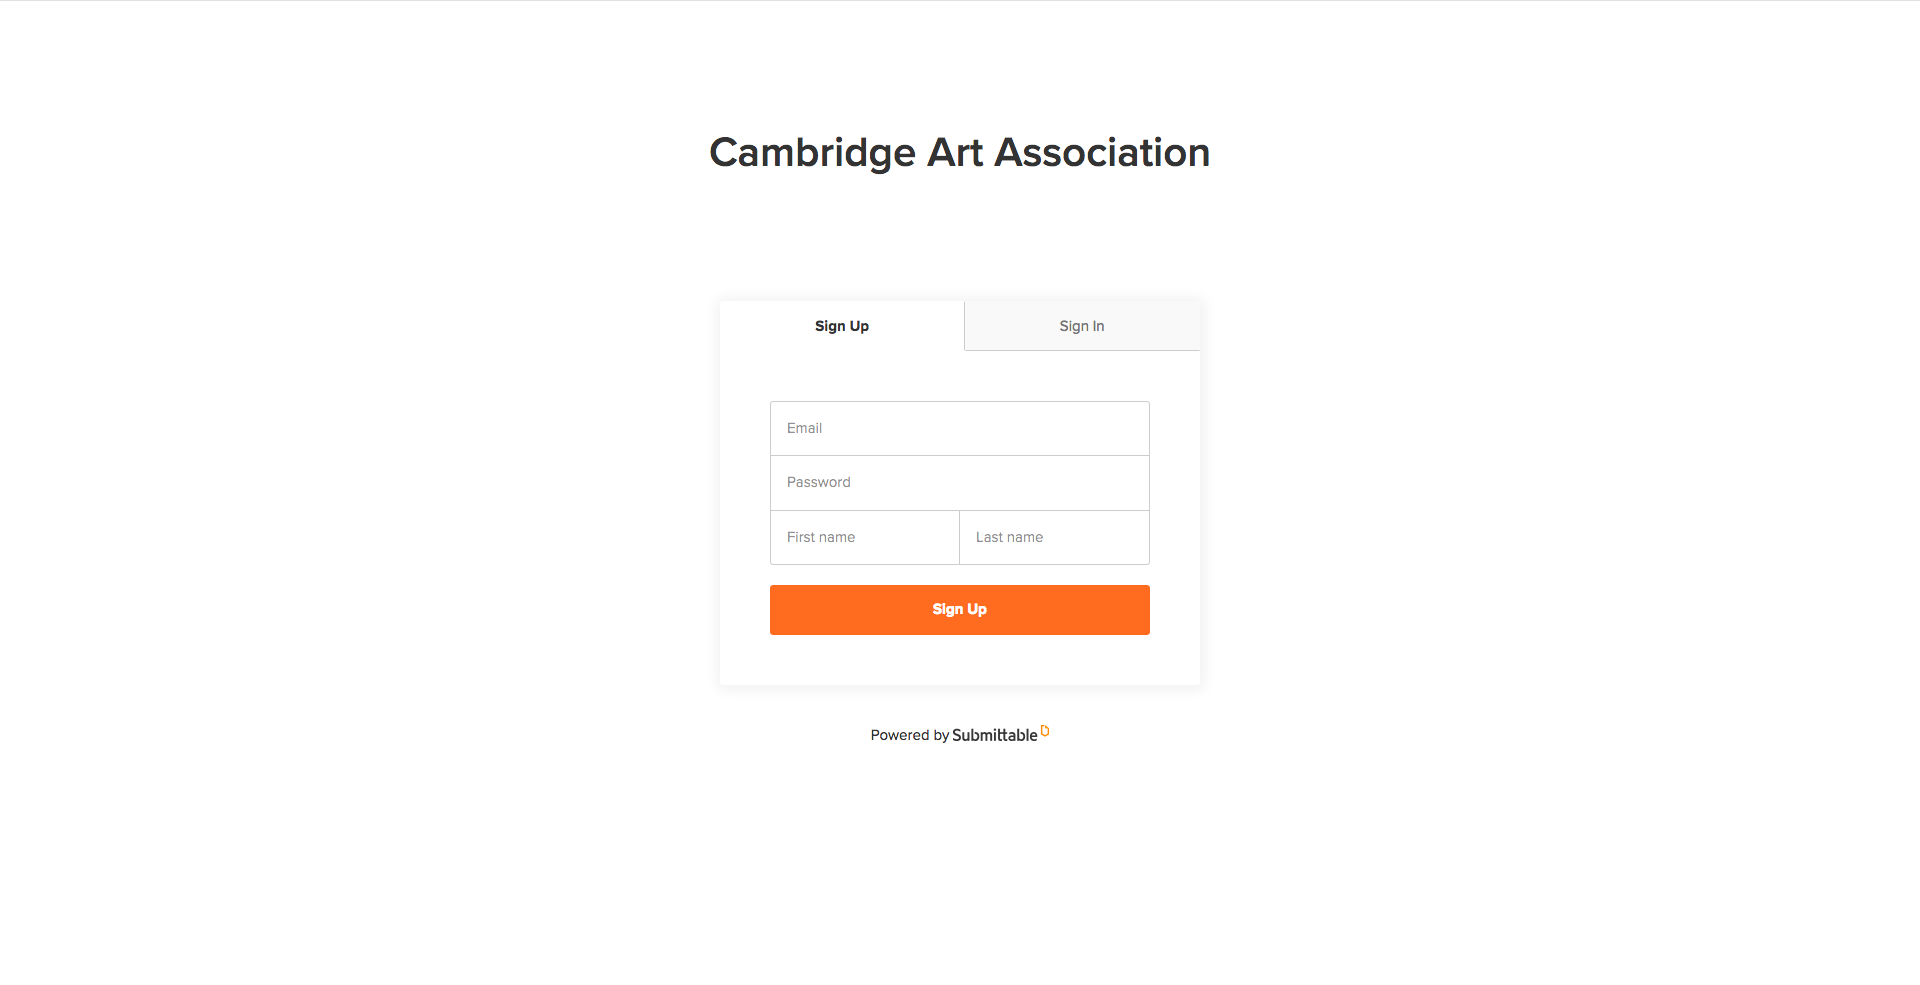
STEP 5
You have been redirected to the application, now scroll down and continue to Step 6.

STEP 6
Scroll down to the beginning of the application, and fill out your information. 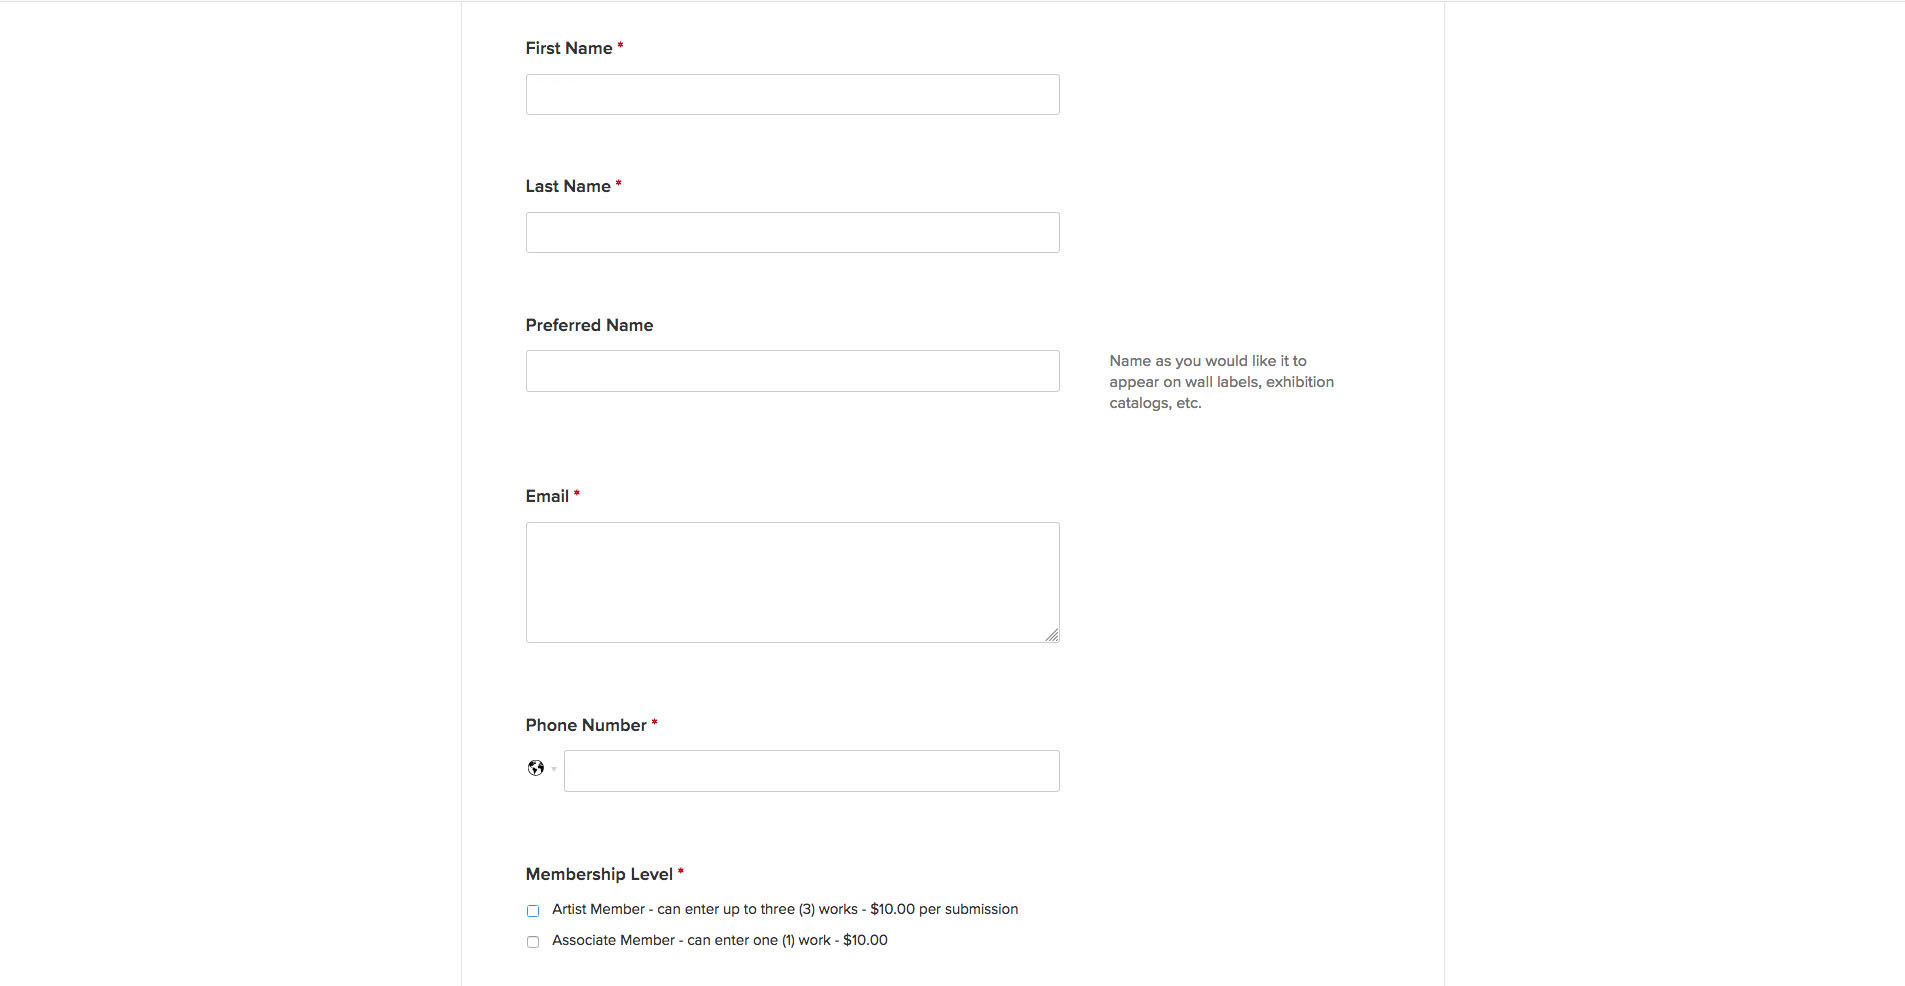
STEP 7
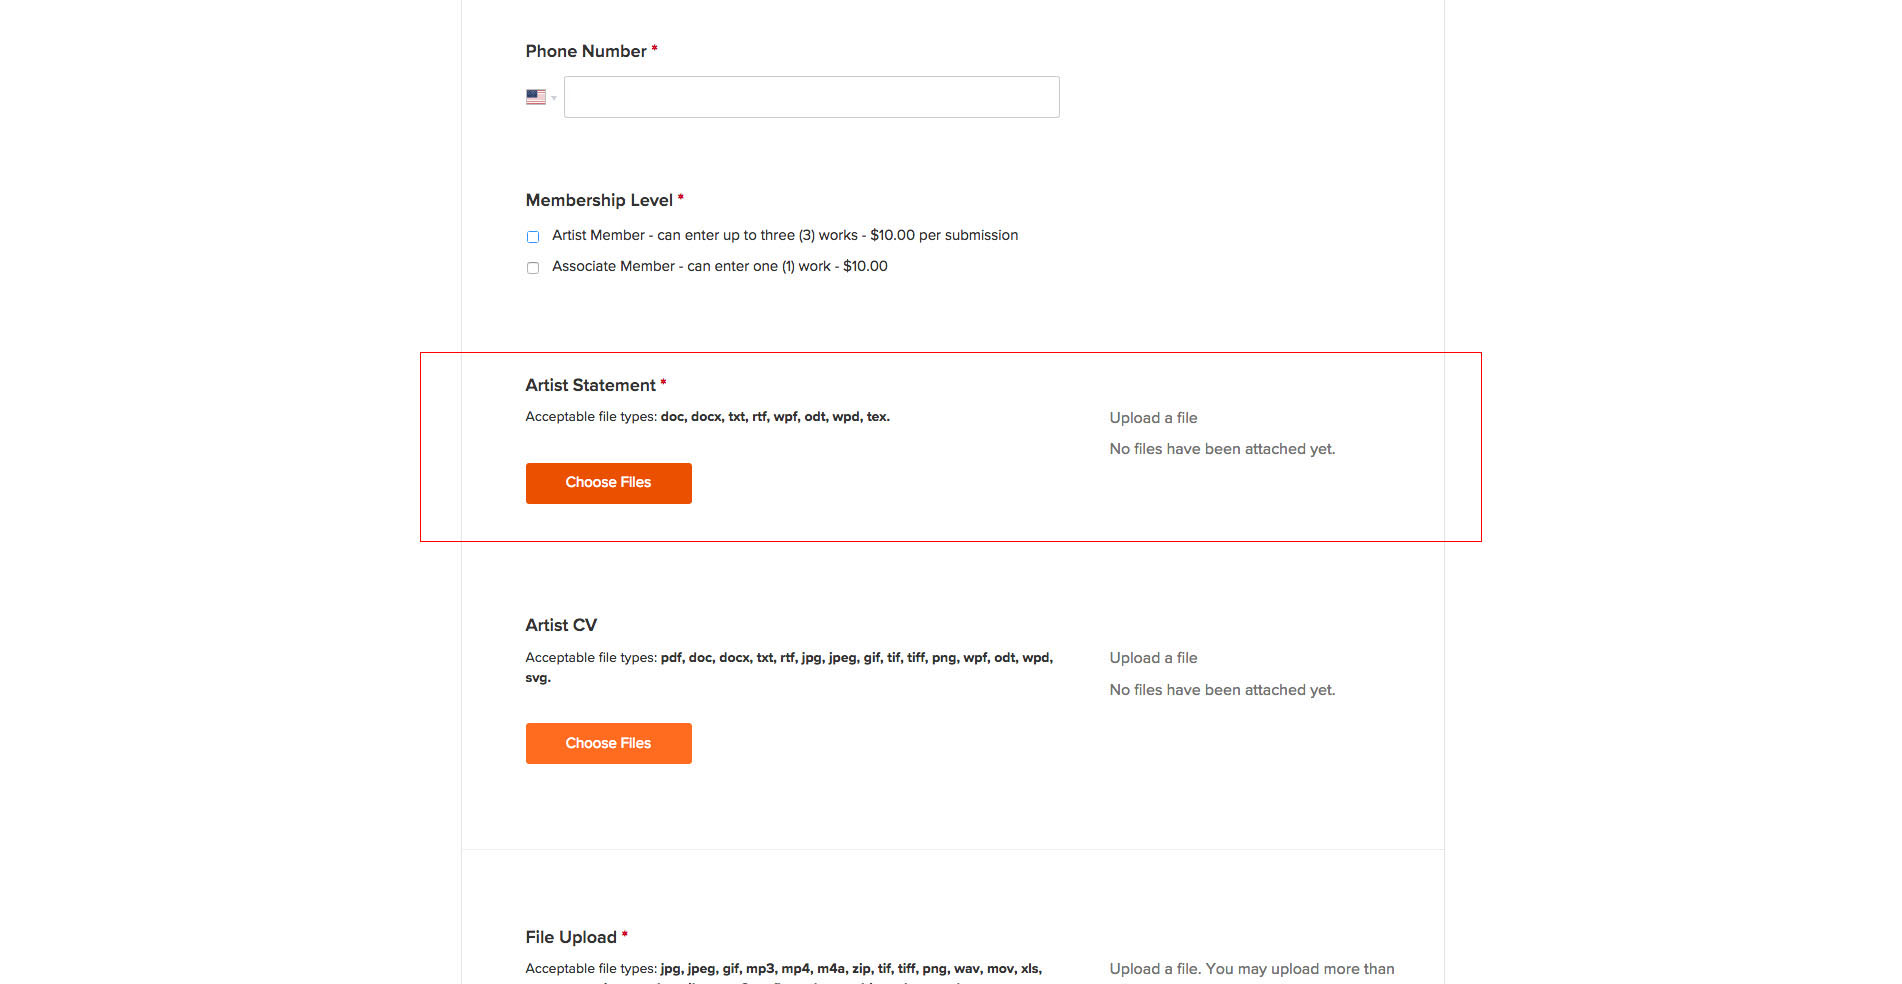
Now it is time to upload documents. Artist Statements are a required document. In order to upload the document, click ‘Choose Files’ and move on to step 8.
STEP 8
Find your document on your computer. Everyone stores their documents in different places. Consider storing your application documents & images for submitting on your desktop temporarily for easy submitting! When you have found your document. Select it, and click ‘Open’. Move on to step 9.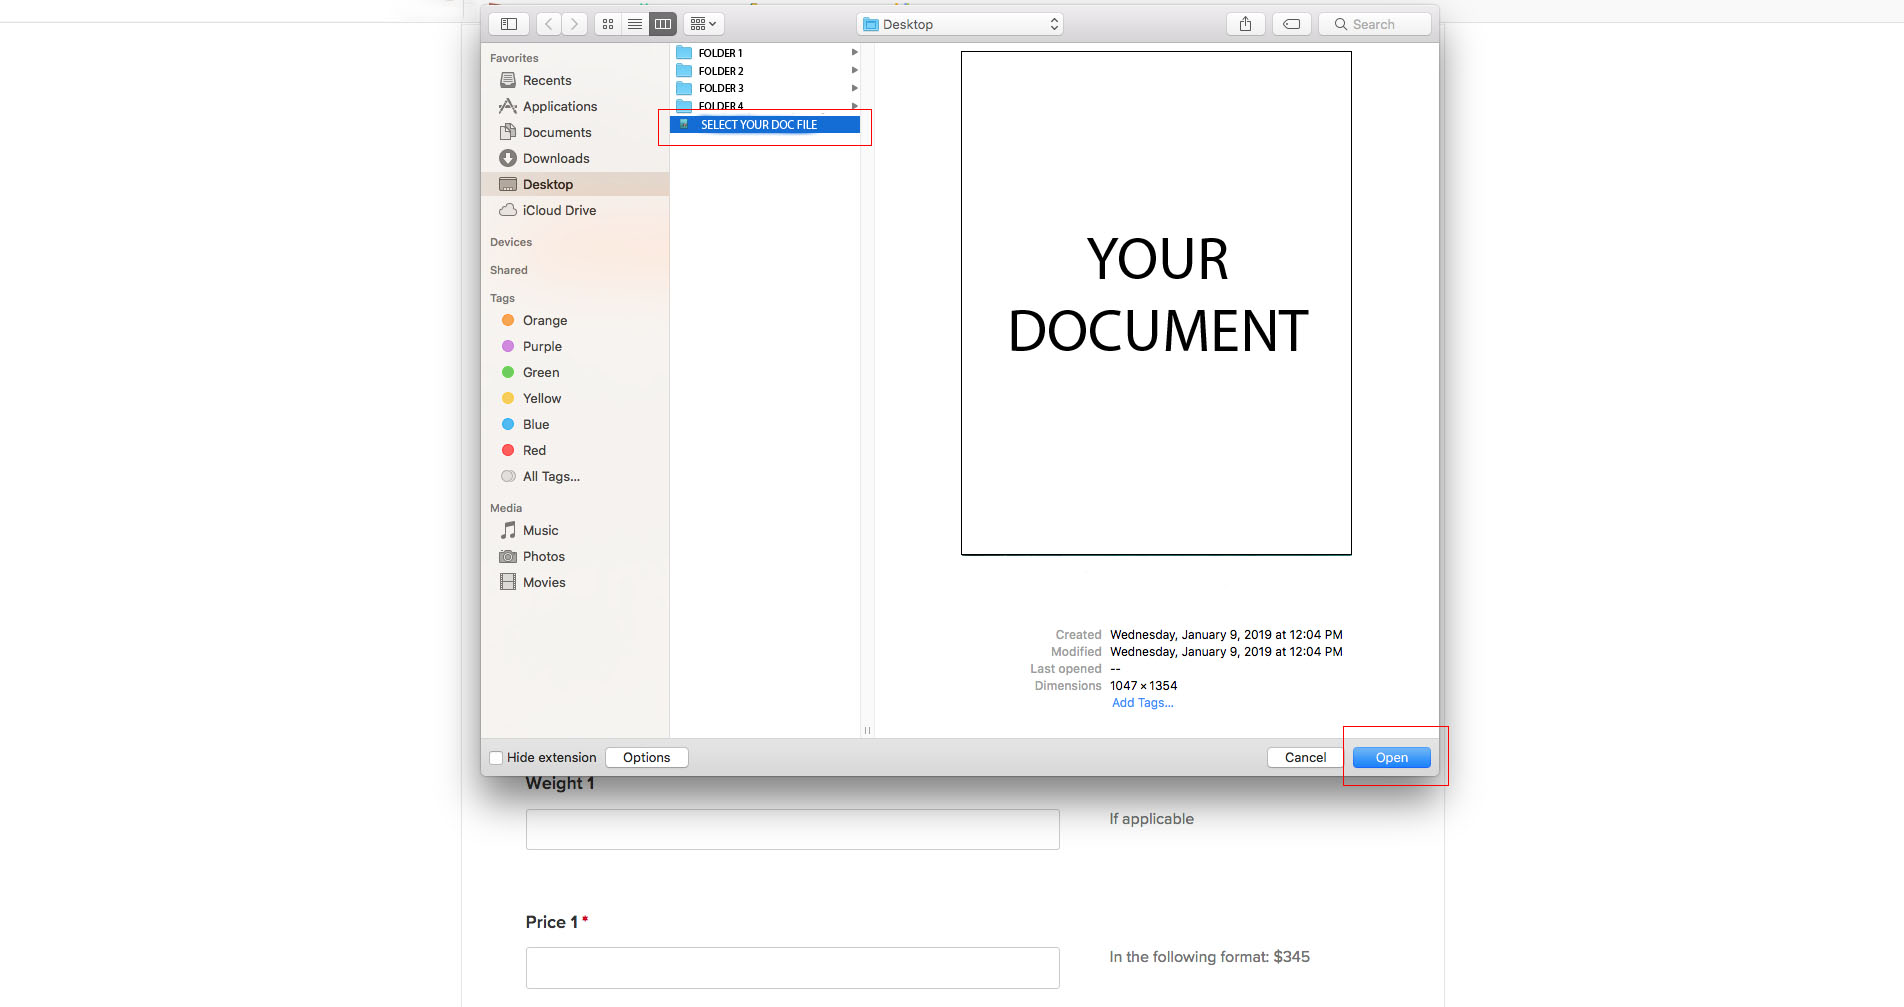
STEP 9
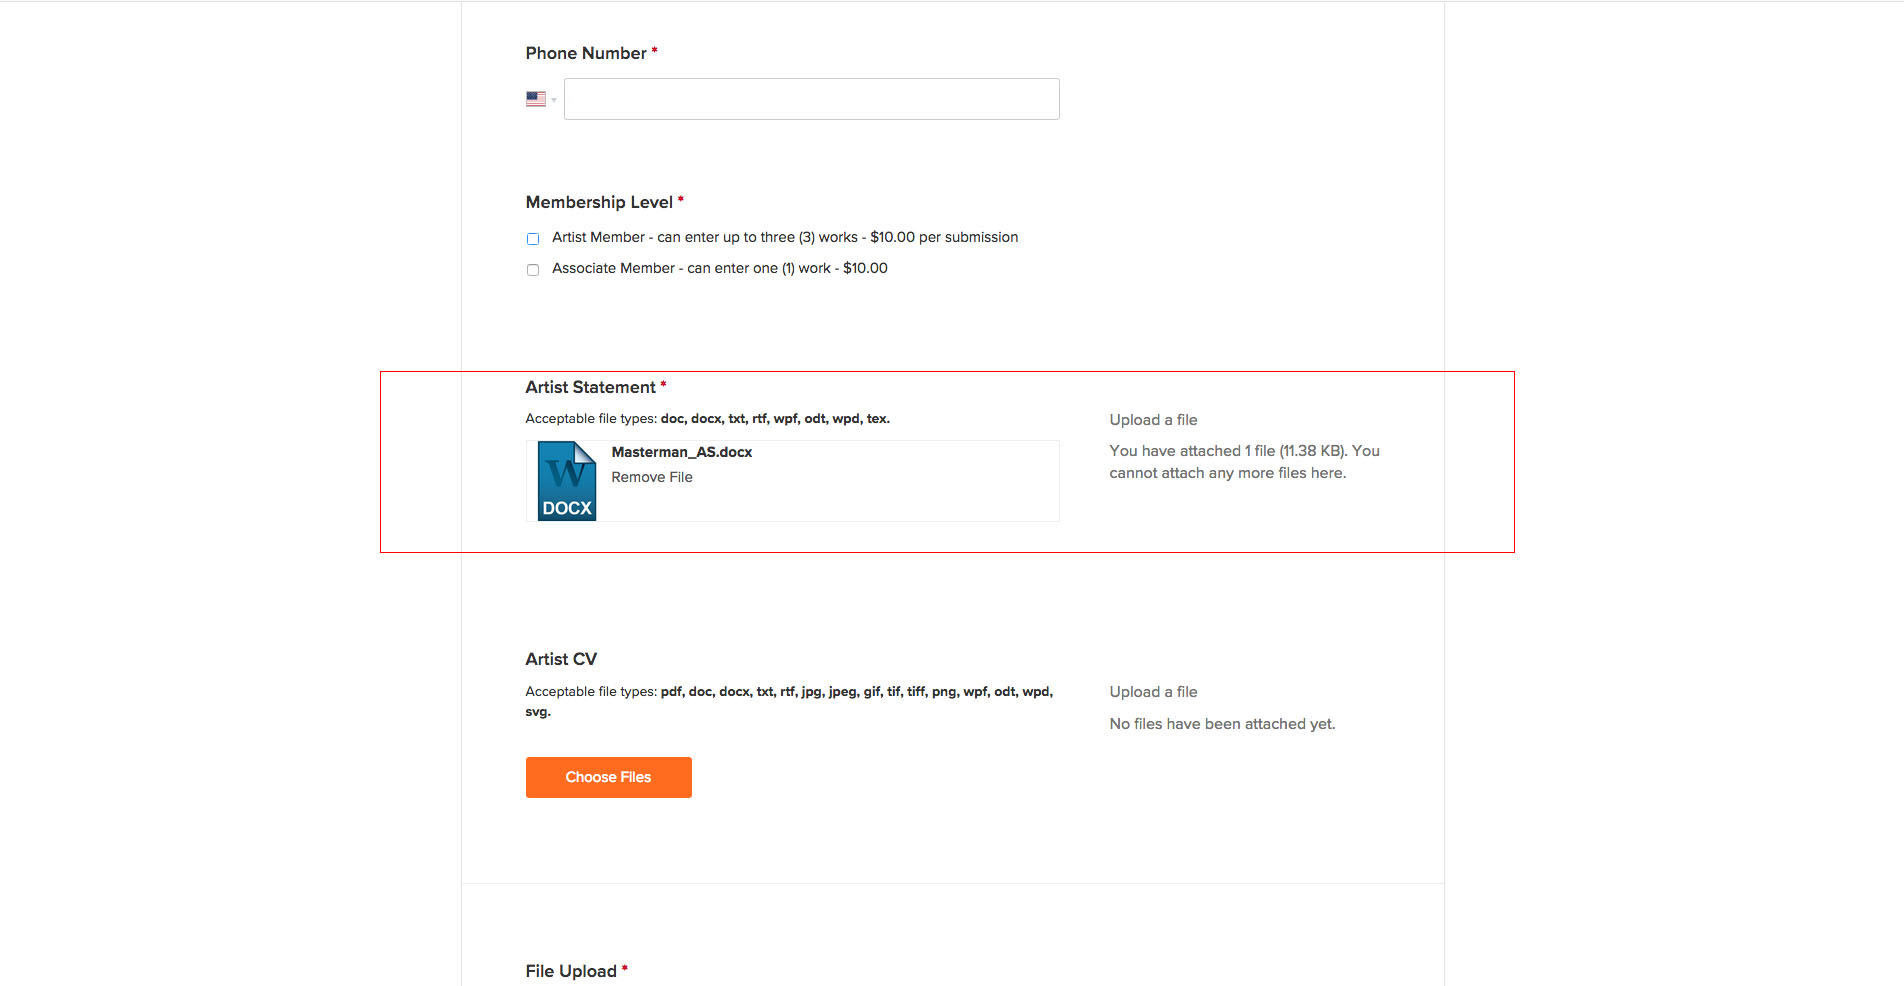
When your document has successfully uploaded, your application will now look like this. Repeat steps 7-8 for your CV.
STEP 10
Now it is time to upload your first artwork image. It is similar to uploading your documents. Click ‘Choose Files’ and search for the image file on your computer.

STEP 11
Now that your image has been uploaded, fill out all artwork information corresponding to the image. Make sure to fill out all information correctly. Repeat for all artwork submissions. When you’ve completed all image information, you may move onto step 12.

STEP 12
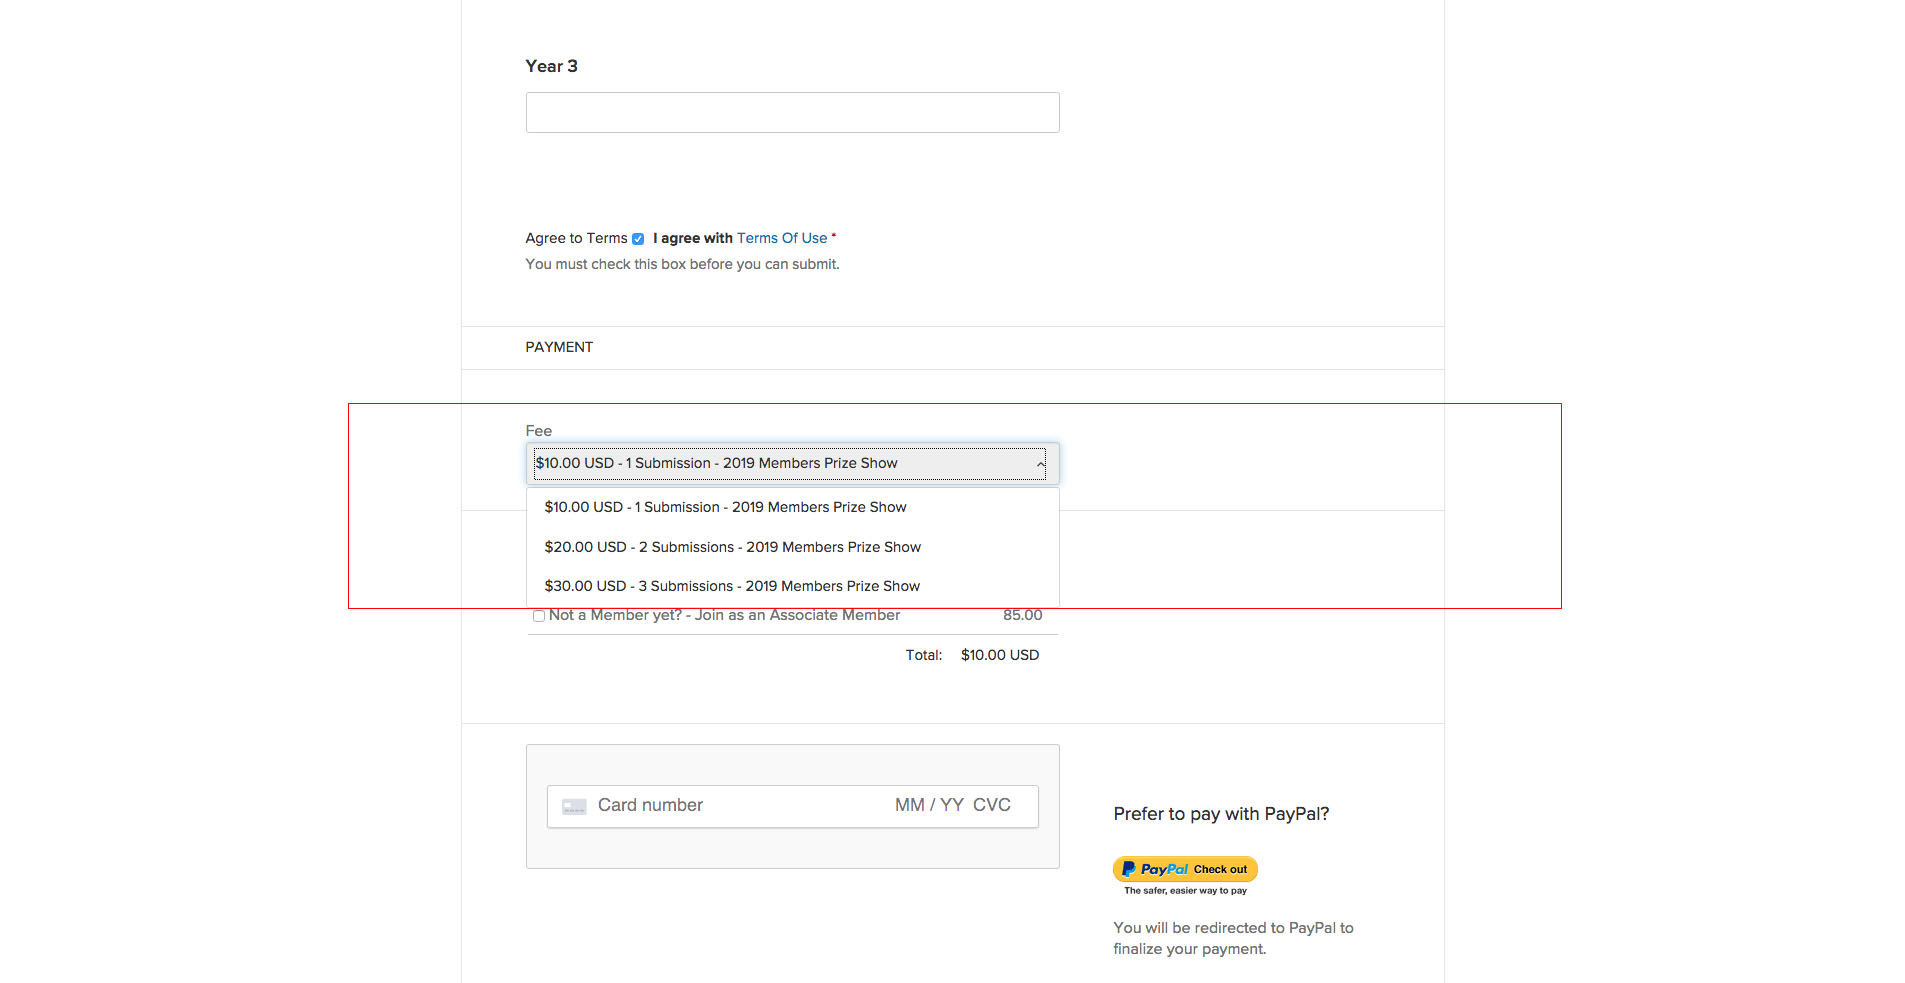
Click the check-box to agree to our Terms Of Use, and select the correct payment type. The payment amount varies depending upon how many submissions you are submitting.
STEP 13
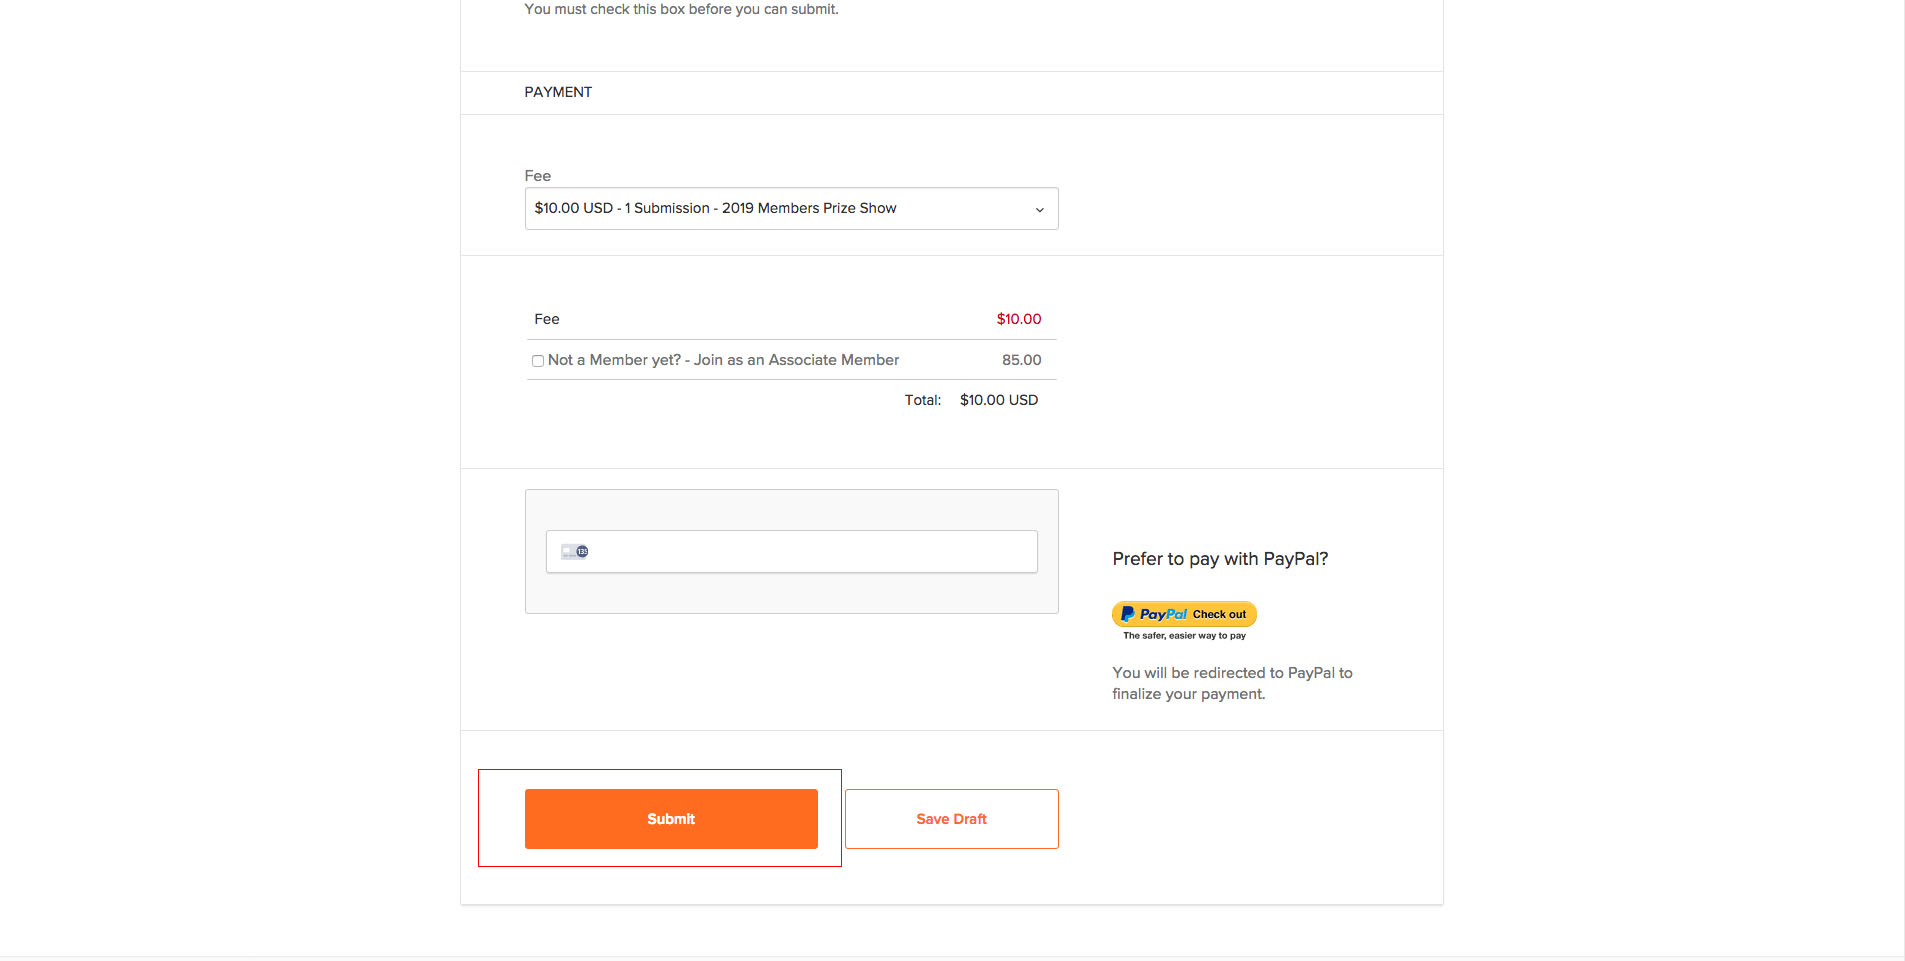
Scroll up and look over all of your application information to make sure everything is correct. Then, fill out your Credit/Debit Card information, and click ‘Submit’.
YOU’RE ALL SET!
You will be redirected to this page when you are all set! Congratulations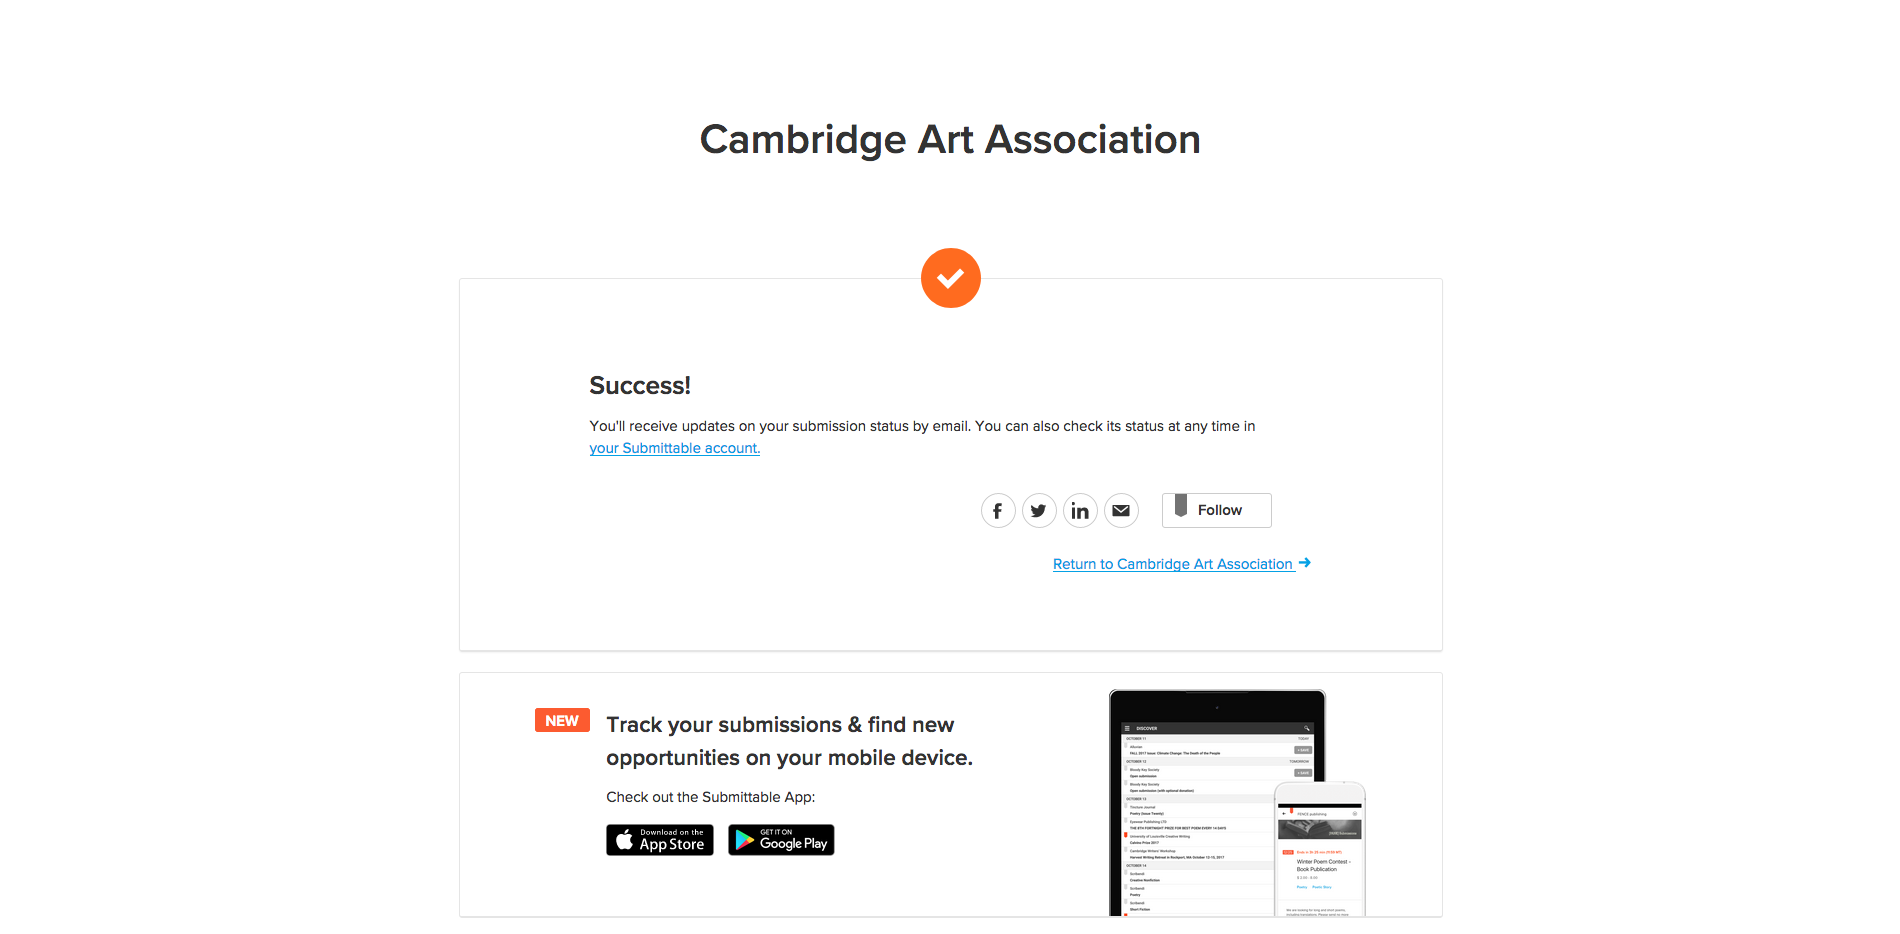
Image in head courtesy of Dan Brenton.
